What Is Solution Workbench?
Solution Workbench is a Kinetic tool for managing solutions — bundles of customizations you can export from one environment and import into another. You can use it to distribute custom applications, business objects, dashboards, Business Process Management (BPM) directive groups, user-defined codes, extended properties, report styles, and more.
Each solution is packaged as a single .zip file containing all files and data. This makes it straightforward to move customizations between environments — for example, from test to production.
Solutions exported and imported between environments must be on the same Kinetic version. Cross-version imports are not supported.
Export a Solution
Open Solution Workbench
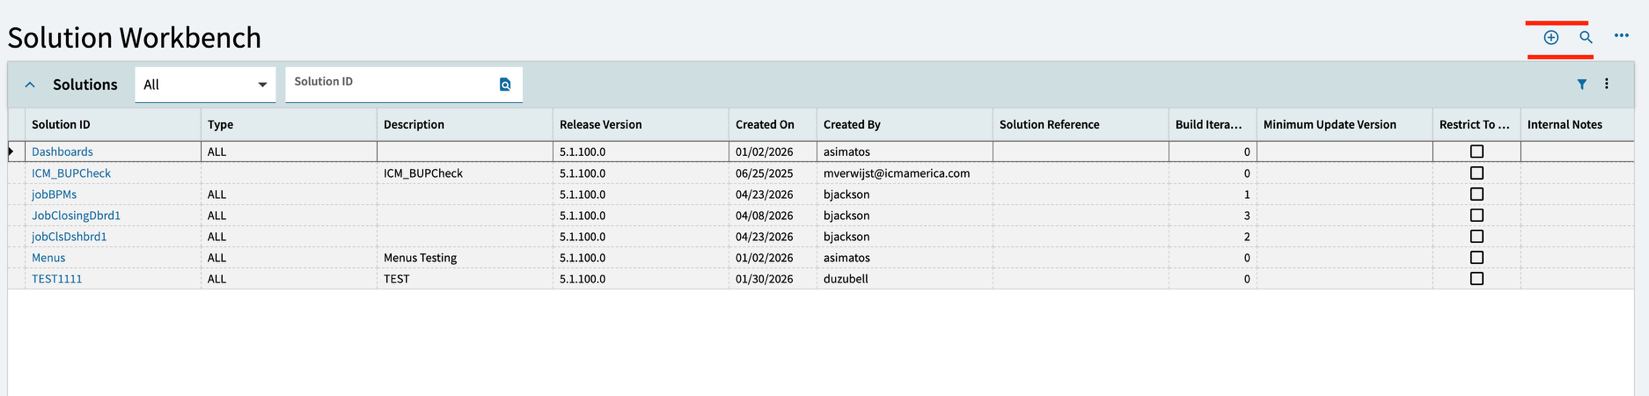
Search for "Solution Workbench" in Kinetic and open the app.
Create a New Solution
On the home page, click the plus sign at the top right to create a new solution.
Enter Solution Details
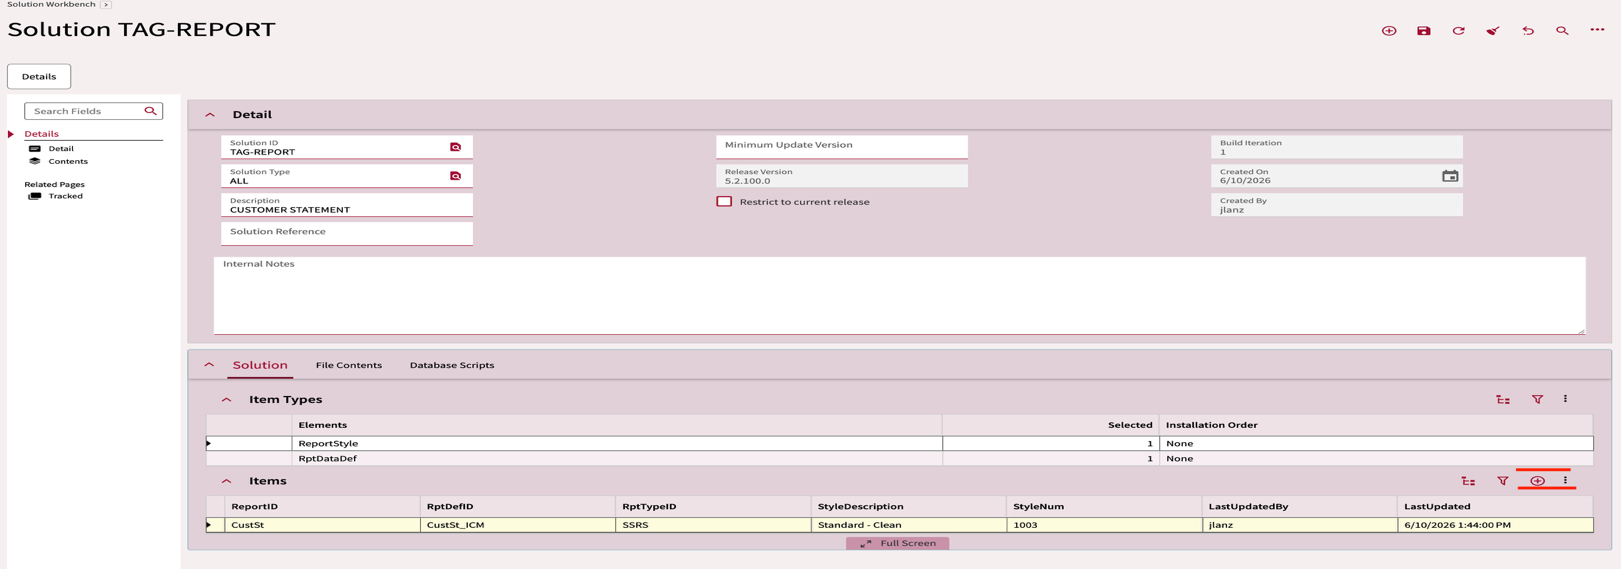
Enter the Solution ID. In the Solution Type field, click the search icon and select "All". Save the record.
Add Items to the Solution
In the Solutions card, expand Items and click the plus sign in the Items section.
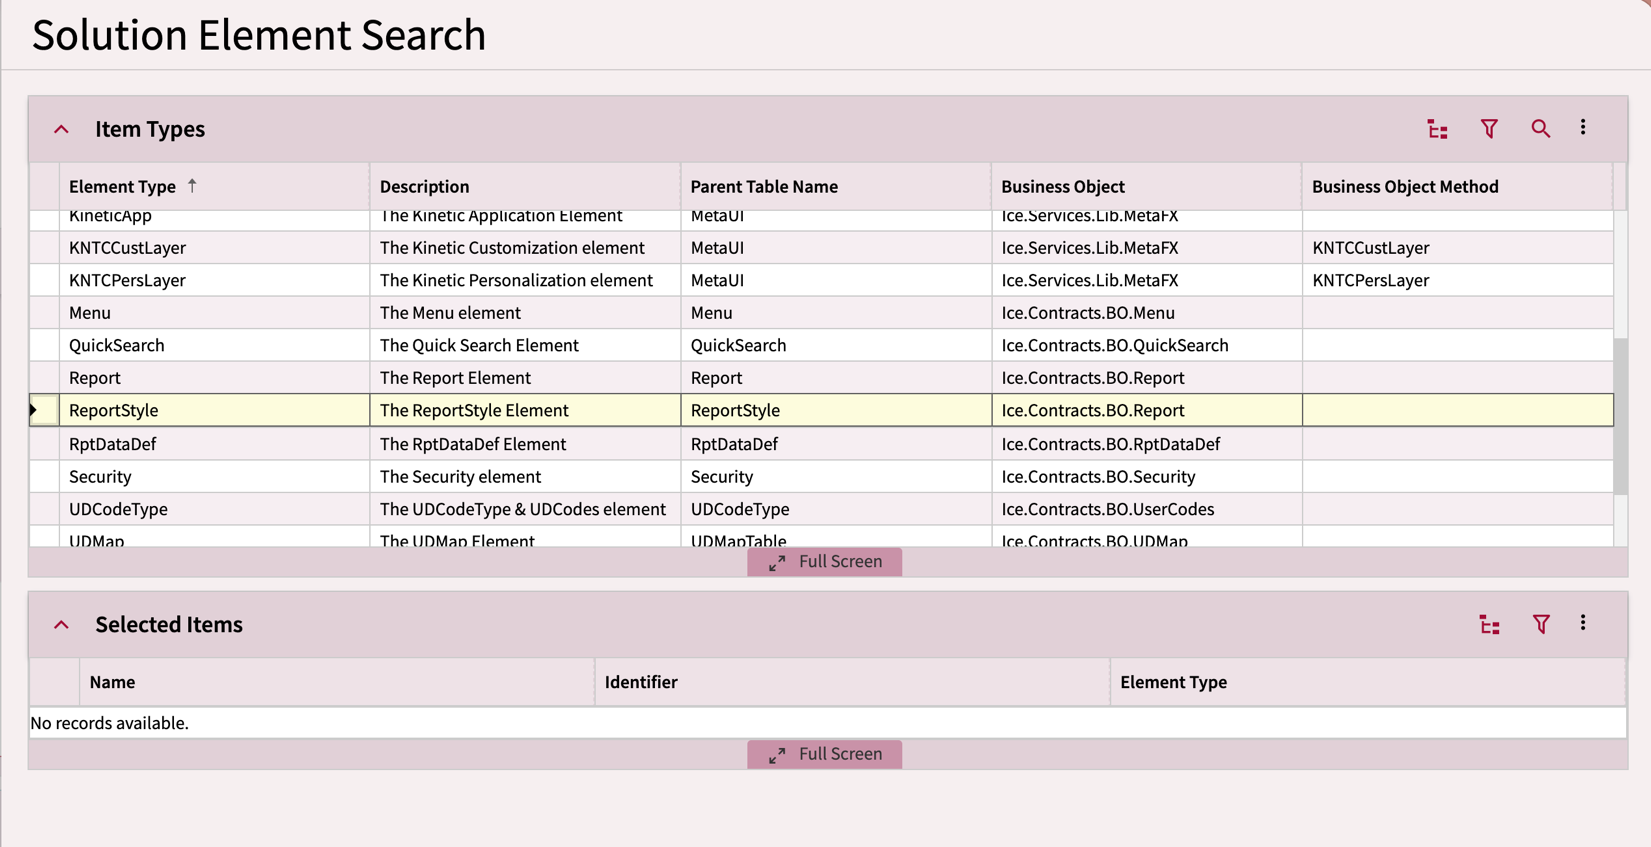
Select the Element Type
A slider window appears with various Elements. Select the type you want to include — in this example, ReportStyle.
Choose the Specific Item
Highlight the Element, then click the search icon at the top right. Select the desired item from the list. In this example, we selected CustSt (Customer Statement).
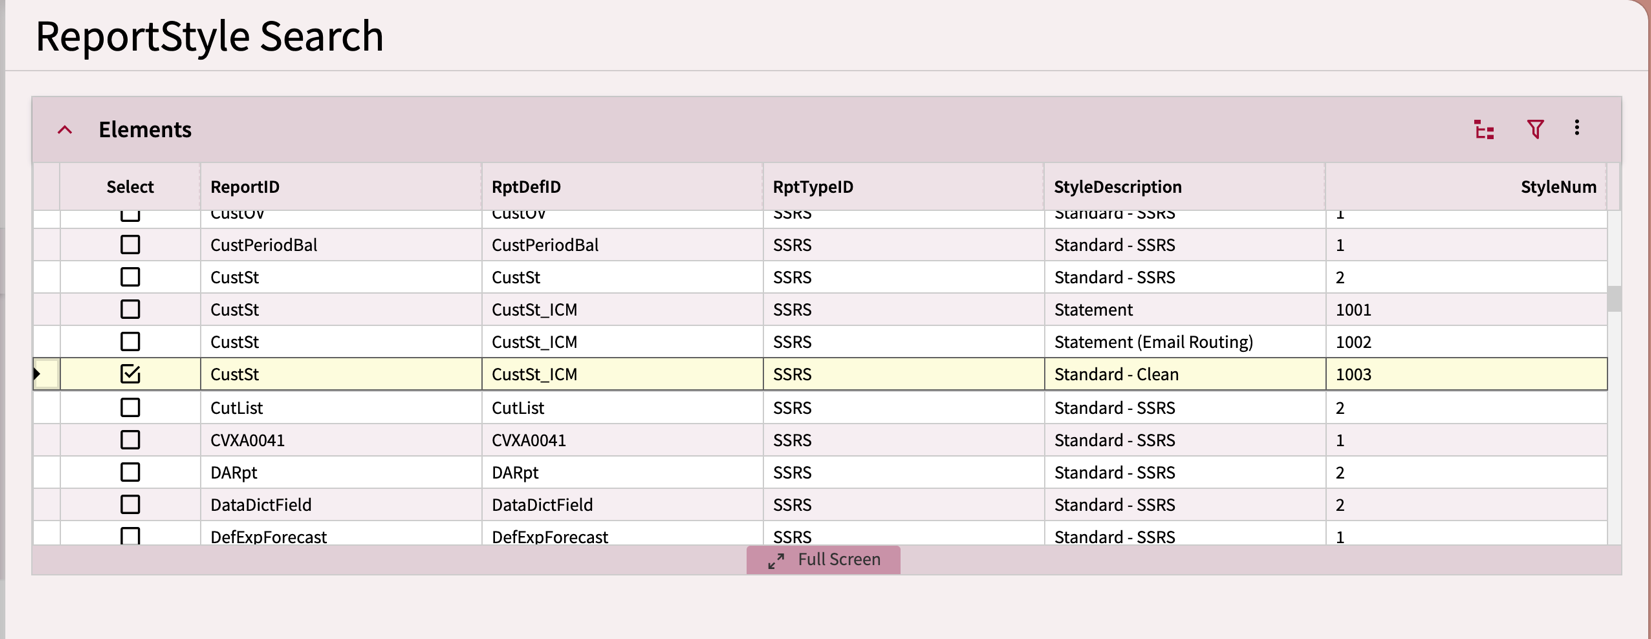
The solution now contains both the report and its report definition.

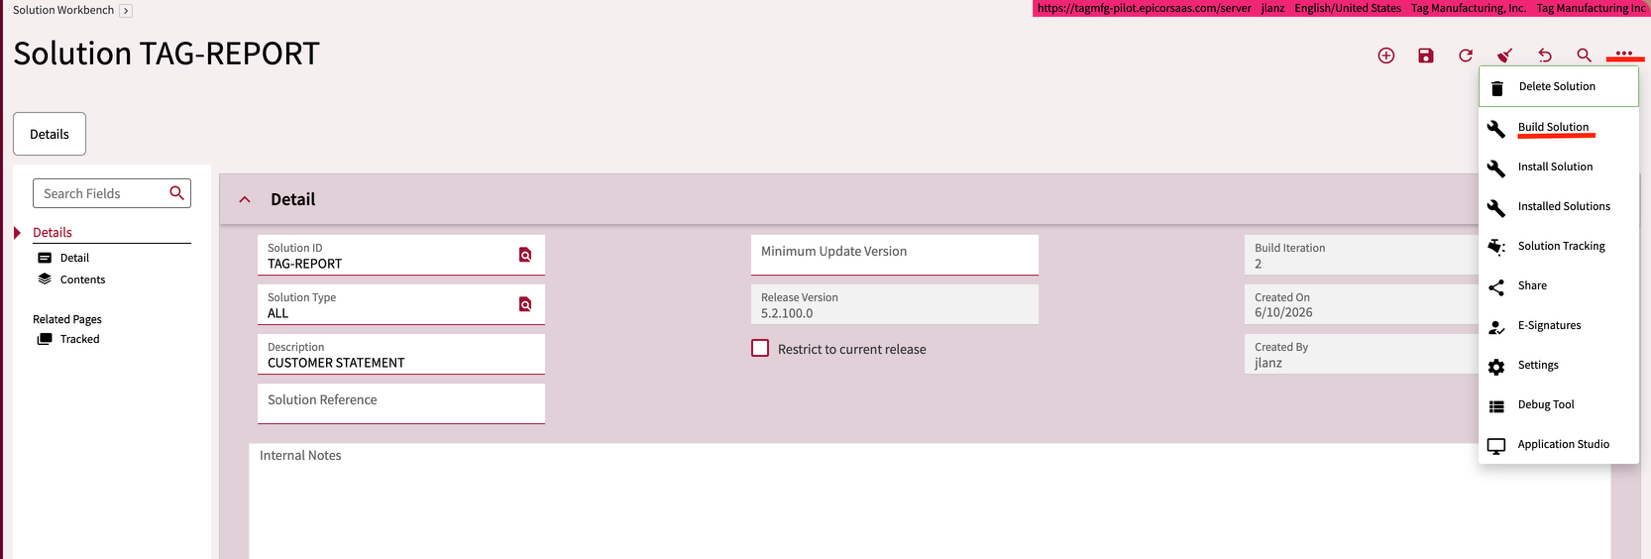
Build the Solution
Open the overflow menu (three dots) and select Build Solution.
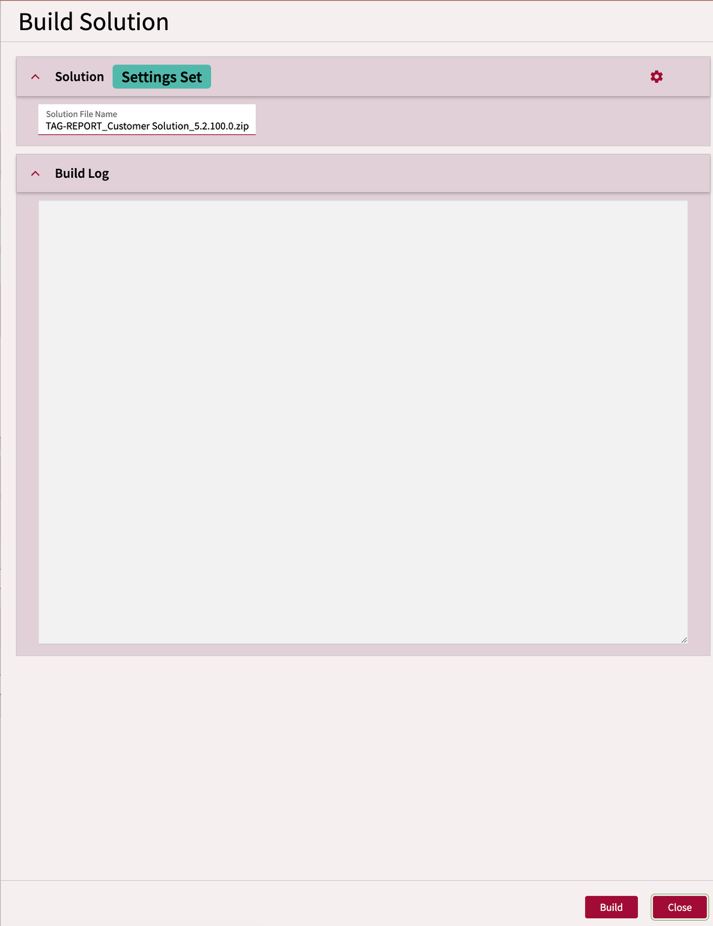
Download the ZIP File
In the slider window, click Build at the bottom right. A .zip file will be created and downloaded to your local computer.
Import a Solution
Open Solution Workbench in the Target Environment
Search for "Solution Workbench" in the Kinetic environment where you want to install the solution.
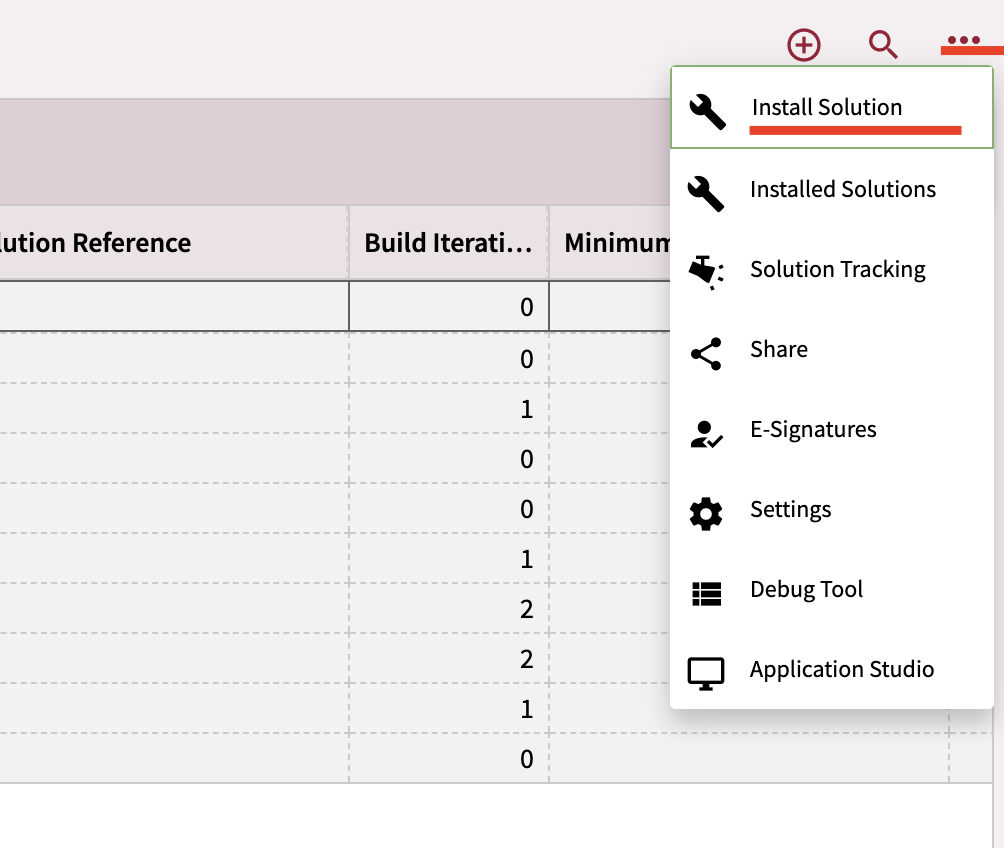
Open the Install Solution Menu
On the Solution Workbench landing page, open the overflow menu and select Install Solution. A slider window appears.
Select the ZIP File
In the slider, click the search icon at the far left of the Solution File field. Locate the downloaded .zip file on your local computer. Once selected, click Install at the bottom right.

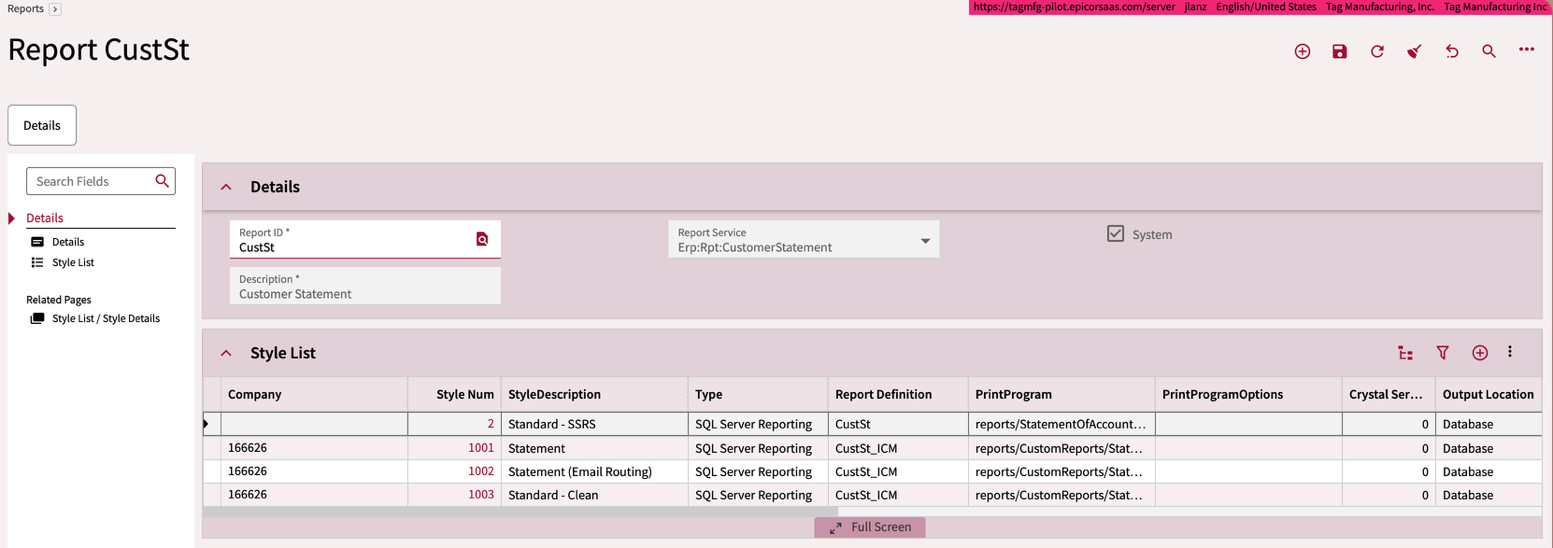
Verify the Import
The imported items are now available in the target environment. For a report style, search for the report name in Report Style to confirm it appears — including any reports that came in as part of the solution.
If you need to update a solution after making changes, simply rebuild it using the same Solution ID and reimport it in the target environment. Kinetic will overwrite the existing version.
Need Help with Epicor Customizations?
We help manufacturers deploy and manage Kinetic customizations without breaking production. No long-term contracts — just answers.
Free Consultation